Barcodes for SQL Server Reporting Services (SSRS)
This tutorial shows you how to use SmartCodeDeveloper with SQL Server 2008 R2 Reporting Services.
Requirements
This tutorial assumes the following are already installed:
- Microsoft SQL Server 2008 R2
- Reporting Service 2008 R2
- SQL Server Business Intelligence Development Studio
Steps
1) Install SmartCodeDeveloper on your computer.
2) Configure SmartCodeDeveloper to work with Microsoft SQL Server 2008 R2 Reporting Services. This can be done manually using the steps described in the following links
- Configurating SmartCodeDeveloper for Business Intelligence Development Studio and SQL Server 2008 R2 Reporting Services (32-bit Windows)
- Configurating SmartCodeDeveloper for Business Intelligence Development Studio and SQL Server 2008 R2 Reporting Services (64-bit Windows)
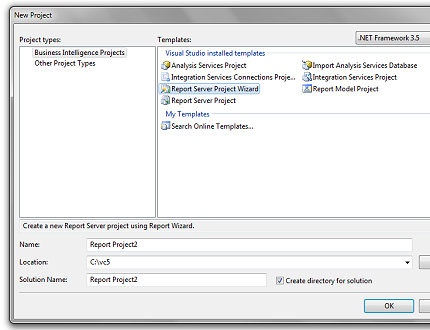
3) Run Business Intelligence Development Studio and create a new Report Server Wizard project by going to
File > New > Project. In the New Project dialog,
highlight Business Intelligence Projects in the Project Types box
and Report Server Wizard Project in the Templates box.
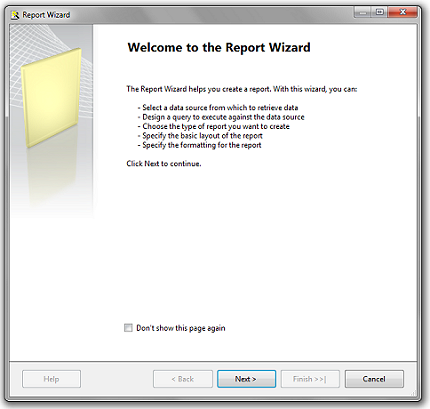
4) The Report Wizard dialog will be displayed. click Next
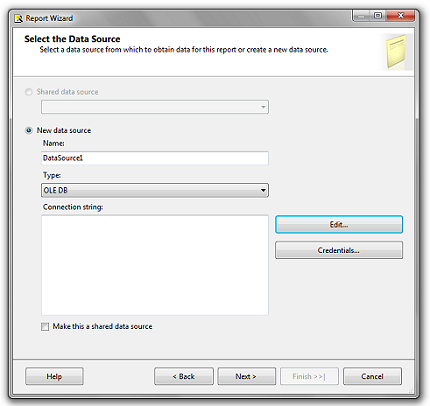
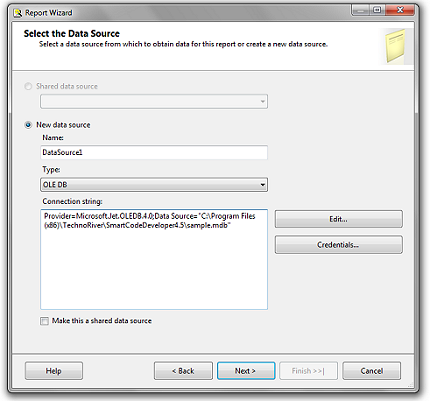
5) Select a DataSource. For our tutorial, we will be using the MS Access sample.mdb file that is shipped with the SmartCodeDeveloper package. It can be found in the installation directory (default at C:\Program Files (x86)\TechnoRiver\SmartCodeDeveloper4.x\). In this case, we will use OLE DB for the Type . Click the Edit button.
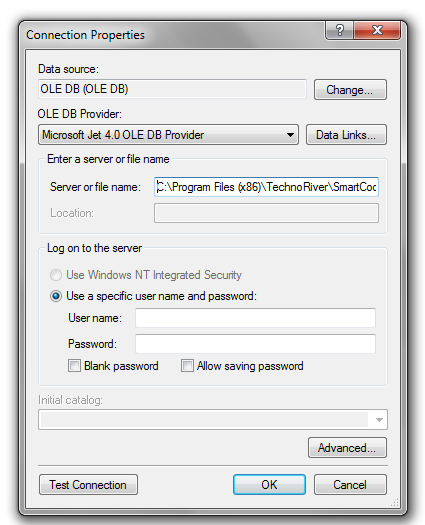
6) The Connection Properties dialog will be displayed. We will be using the Microsoft JET 4.0 OLE DB Provider. For the Server or File Name , enter the location of the sample.mdb file (for example, C:\Program Files (x86)\TechnoRiver\SmartCodeDeveloper4.5\sample.mdb ) . Click the Test Connection button to ensure the connection succeeded. Click the OK button.
7) We will be back at the Select the Data Source screen. Click Next.
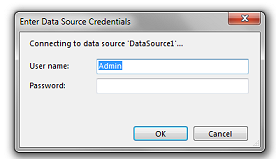
8) If a screen is displayed asking for Credentials, just click OK.
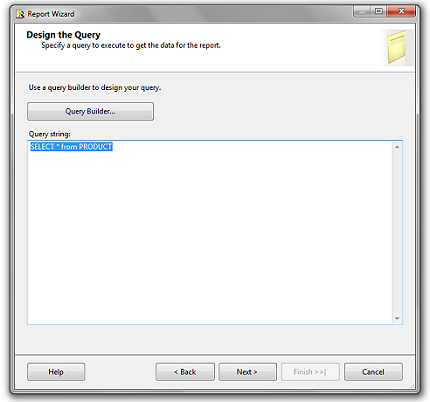
9) The Design the Query screen will be be displayed. Enter SELECT * from PRODUCT for the Query String.
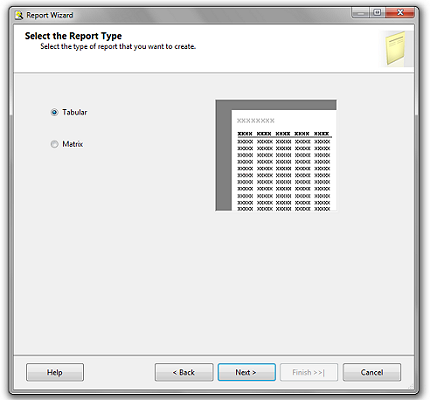
9) Select Tabular for the Report Type and click Next.
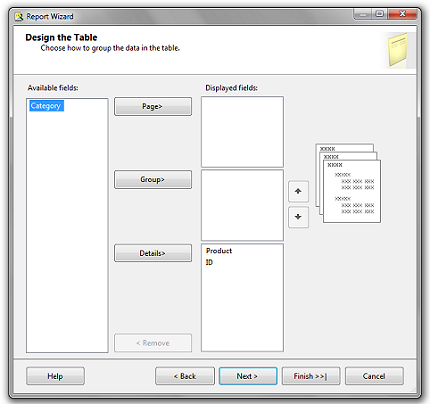
10) In the Design the Table screen, add Product and ID to Details. Click Next.
11) Choose Slate for the Table Style. Click Next.

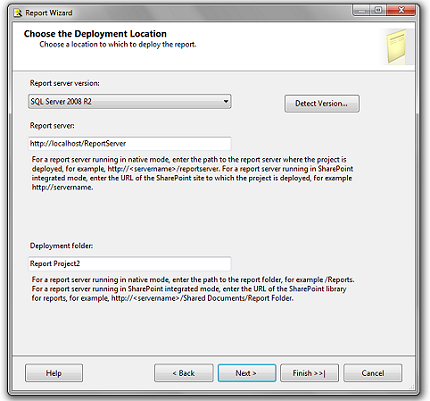
12) For the Deployment Location, we will use the default values. Click Next.
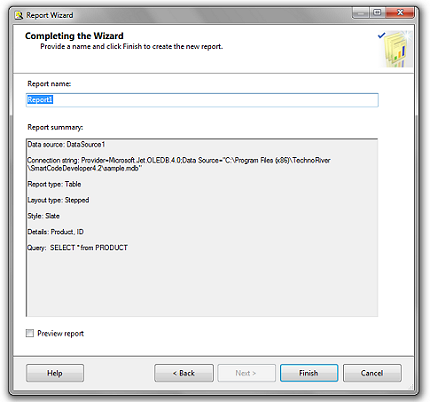
13) Click Finish to complete the Wizard.
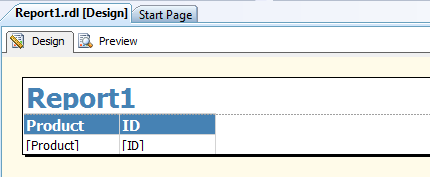
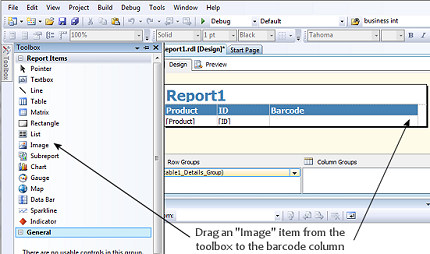
14) The report will be in Layout mode should look like the following figure. Adjust the width and height of the cells by modifying the Size property.
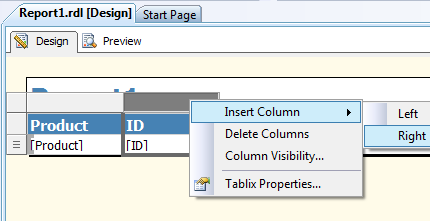
15) Right click the last column in the table. Select Insert Column> Right. Label the new column Barcode by clicking the header typing directly into it.
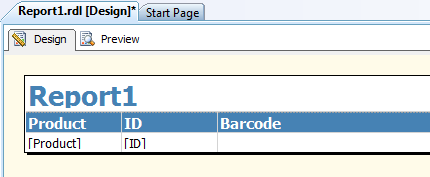
16) The report should now look something like the image below.
Add references to SmartCodeDeveloper.DLL
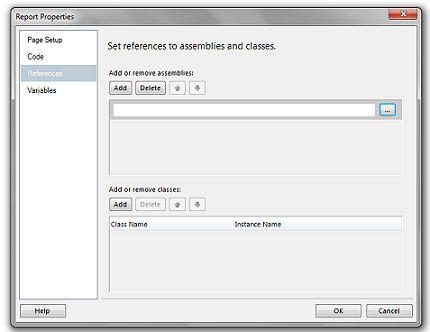
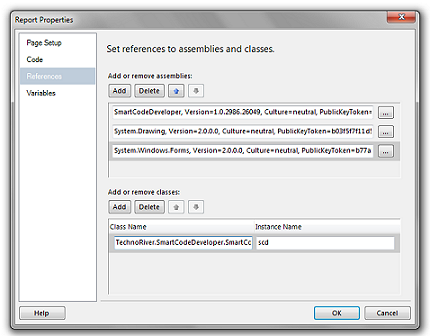
17) Click on the body of the report. You will notice the Report menu apears in the Business Intelligence Studio IDE main menu. Click the Report Menu > Report Properties. Click the References tab of the Report Properties screen. At this point, we will be adding SmartCodeDeveloper.dll to the report project. Click the "Add" button, and then the "..." button on the right.
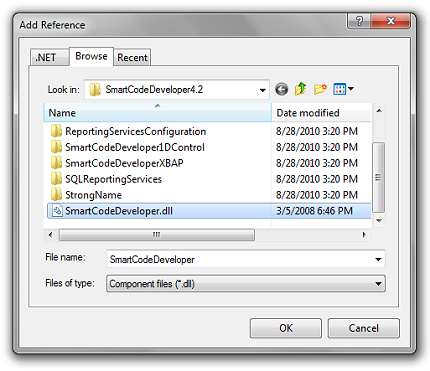
18) Click the "Browse" tab on the Add Reference dialog box. Navigate to the location of SmartCodeDeveloper.dll. (The default path is C:\Program Files\TechnoRiver\SmarCodeDeveloper4.x\SmartCodeDeveloper.dll). Select the file and click Open. Click "OK" on the Add Reference Dialog.
19) In order to use SmartCodeDeveloper for reporting services, the System.Drawing and System.Windows.Forms assemblies need to be included in the project as well. To reference these assemblies, click Add Reference again and select System.Drawing and System.Windows.Forms from the list of available assemblies under the .Net tab.
20) You'll need to create an instance of SmartCodeDeveloper to use it in a VB.NET function. The instance name is required so that we can reference the object in our code to create the image. To do this, add a new entry in the Classes grid below. Note that the instance will be called scd and that the full reference to the class is TechnoRiver.SmartCodeDeveloper.SmartCodeDeveloperControl
You should see the following if the above steps are done properly.
Creating a VB.NET function
21) You'll have to create a VB.NET function which will be invoked to get
the appropriate barcode image using SmartCodeDeveloper. We can use
the instance scd created in the previous step. The following
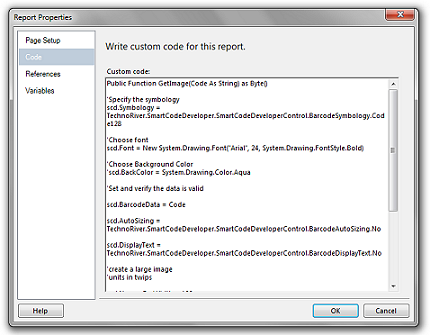
code can be placed in the Code tab of the Report Properties to
create a function which returns an array of bytes representing the
image (in PNG format):
Public Function GetImage(Code As String) as Byte()
'Specify the symbology
scd.Symbology =
TechnoRiver.SmartCodeDeveloper.SmartCodeDeveloperControl.BarcodeSymbology.Code128
'Choose font
scd.Font = New System.Drawing.Font("Arial", 24, System.Drawing.FontStyle.Bold)
'Choose Background Color
'scd.BackColor = System.Drawing.Color.Aqua
'Set and verify the data is valid
scd.BarcodeData = Code
scd.AutoSizing = TechnoRiver.SmartCodeDeveloper.SmartCodeDeveloperControl.BarcodeAutoSizing.No
scd.DisplayText = TechnoRiver.SmartCodeDeveloper.SmartCodeDeveloperControl.BarcodeDisplayText.No
'create a large image
'units in twips
scd.NarrowBarWidth = 100
'space on each side in twips
scd.BoundaryZoneX = 720
'scd.BoundaryZoneY = 64
'Set the width and height of the image
'in pixels
scd.Height = 240
'scd.Width = 200
'scd.RegistrationKey = "XXXX-XXXX-XXXX-XXXX"
Return scd.GetImagePNG()
End Function
This GetImage function requires a parameter (Code). This value will be specified with a field from the Data Source.
22) To use the barcode image generated by the GetImage function, set the Barcode column to display the image. This is done by dragging an "Image" item from the toolbox and setting its properties
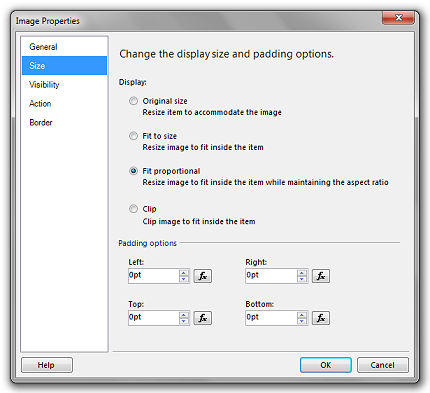
23) You will see the Image Properties dialog.
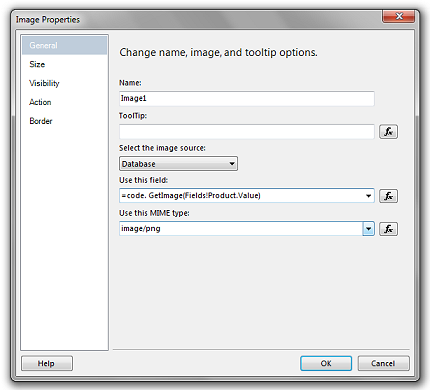
- For Select the Image Source , select Database.
- For Use this MIME type, select image/png
- For Use this Field, enter =code.GetImage(Fields!Product.Value)
23) Click the Size tab, and make sure Display is set to FitProportional.
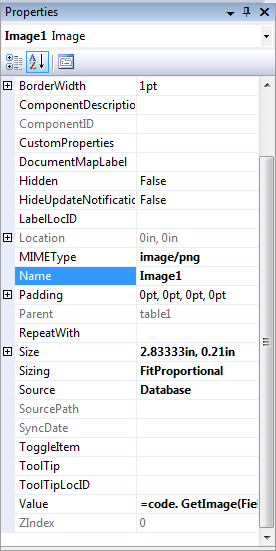
24) In summary, you if click the image and examine its properties, you will notice
Source - is set to Database. This signifies that are value for the barcode will be pulled from a database field.
MIMEType - is set to image/png. . This property is set
according to the image type returned in the VB.NET function. Our example above
uses Return scd.GetImagePNG(). So
you should set the MIMEType to image/png.
Value -
this property is set to
=code. GetImage(Fields!ProductNumber.Value)
This will tell the report to use the GetImage function found in the code module of the report properties and to use the value in the Product field of the database table.
Size - the size of the barcode image (e.g., in inches)
Sizing - Set to FitProportional
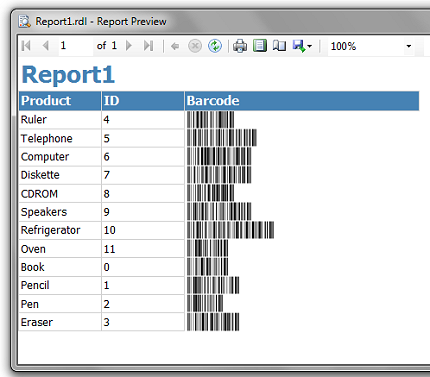
25) Click the Preview tab to view the report.

26) If SmartCodeDeveloper has been properly configured, you may also run the report in debug mode by using Debug > Start Without Debugging. You should be able to see the following report.
Troubleshooting
If you get the error message below when compiling the project
Could not load file or assembly ‘SmartCodeDeveloper, Version = 1.0.XXXX.XXXXX, Culture=neutral, PublicKeyToken=null’ or one of its dependencies
you may want to make sure System.Drawing and System.Windows.Forms assemblies are already included.
If the error persists, you may want to use the strong name version of the SmartCodeDeveloper.dll for developing your reporting service application The strong name version of SmartCodeDeveloper.dll is located at
C:\Program Files (x86)\TechnoRiver\SmartCodeDeveloper4.X\StrongName\ SmartCodeDeveloper.dll
To use the strong name version, you will first have to install it to the GAC cache.